Add Child Band Following the Group Header Band
Rather than printing the column headings at the top of each page, it is desired to print them immediately after the Group Header Band. A Child Band will be used to accomplish this.
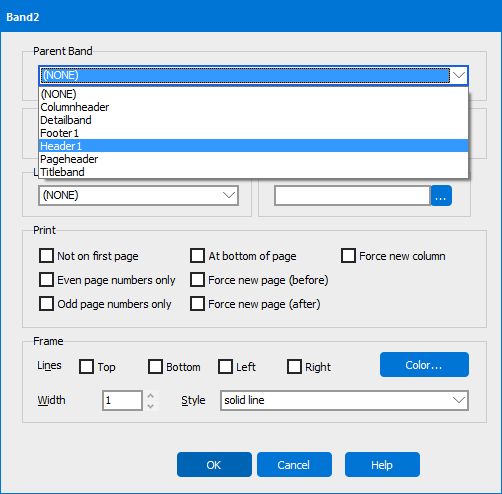
Within the Band Report Editor click the “Create a New Child Band” icon  , then click anywhere within the report image. The following dialog box will be displayed. You must enter the Parent Band, therefore select “Header 1” (which is the name of the Group Header band) as shown in the figure below.
After clicking the OK button, a Child Band named Band2 now exists underneath the Group Header Band. The column headers will now be copied from the Column Header Band into the Child Band. After this is done, you may need to resize/reposition the fields within the Child Band. You can delete the Column Header Band by right-clicking on it and selecting delete.
Finally, change the background color of the Child Band to blue.
The resulting report format within the Editor appears as follows:

Note the Child Band (Band2) beneath the Group Header Band.
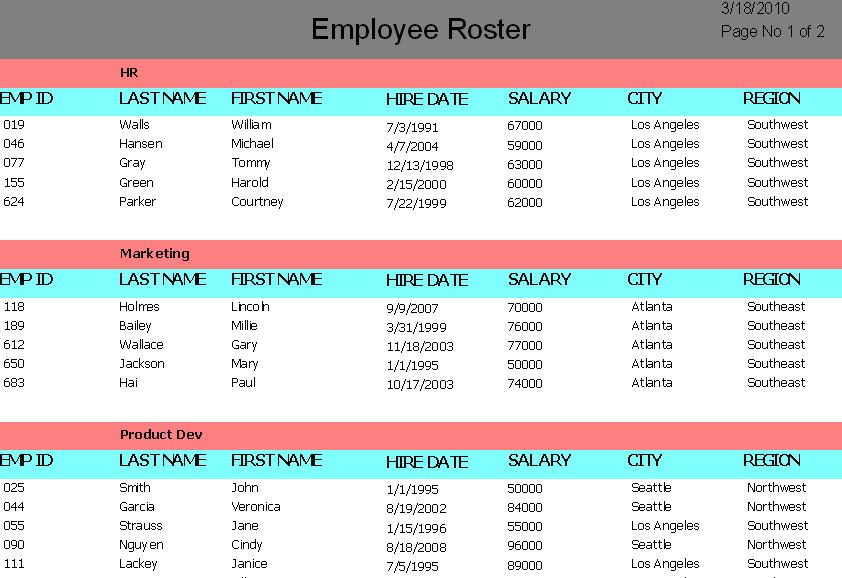
Note that the column headers are now printed under each Group Header Band.