Migrating from Banner Oracle
IntelleCheck version 4.0 introduced support for cloud-based Banner instances. In order to migrate your data from a Banner Oracle Database to the IntelleCheck Server Database, follow these steps:
From the IntelleCheck main menu, navigate to the Administration section.
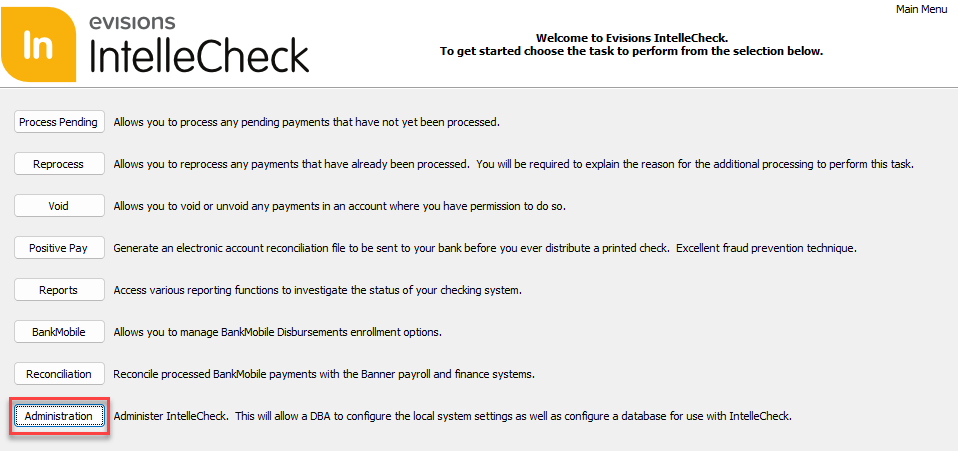
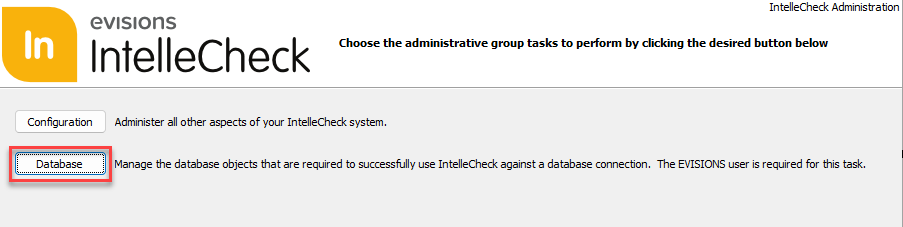
Select the Database button.
Sign in using your credentials, and then you'll be asked to select a connection.
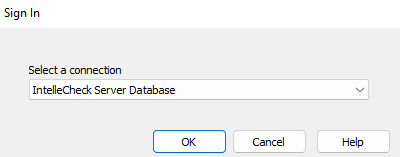
Select the IntelleCheck Server Database and select Okay.
Next, select the Migrate button.
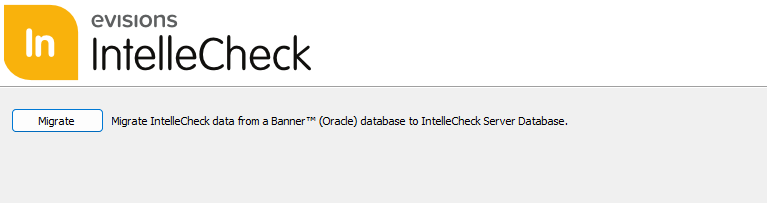
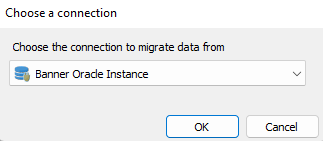
You'll be asked to select the connection you wish to migrate your Oracle data from. Select OK to migrate your data to the IntelleCheck Server Database.
Post Migration
After migrating your data from a Banner Oracle Database to the IntelleCheck Server Database, further configurations may be needed. In some cases, information such as the account number and routing number will not populate as part of the migration. The account number will likely be needed if you are utilizing the Positive Pay feature.
From the IntelleCheck home screen, navigate to the Administration section, then to Configuration, and then to Account to update or configure any necessary fields.
Account Code
After migrating your data over to the IntelleCheck Server Database, all account codes from the GXVBANK and PTRPICT tables that existed at the time of migration will have been transferred over. However, any new accounts will need to be added and configured on this page.

The Add button allows you add a new account.
The Copy button is used to copy the currently selected account in order to create a new one.
The Delete button is used to delete an account from this list.
Information
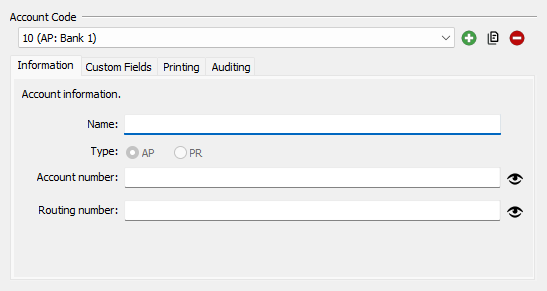
The Information tab is only visible when the IntelleCheck Server Database is selected when signing in. Here you can add the account and routing numbers.