Typical Process Workflow
First, a Few Words About Permissions
The tasks that you can perform in DORIS depend on the permissions that your administrator set up for you.
- You may be able to see all of the entities or you may only be able to see a subset of them.
- For the entities that you can see, you may also be able to do the following:
- View the activity log
- View and change the data source
- Publish and unpublish entities
- View and edit the query associated with the entity
- Map the data from the query result
Some features and entities may not be displayed because of your specific permissions. As a result, you may not be able to perform all of the steps in a typical workflow because of the permissions set for you.
Workflow
The following workflow assumes that you are using a new instance of DORIS and managing one or more of the entities for the first time. It also assumes that you have one or more working data sources available. If you are working in an established environment, some of the steps may have already been completed.
Select an Entity to Manage
When you log in, you will see a list of all of the entities available to you. The status of each entity is also shown, along with the groups associated with it.
-
Find the entity in the list.
-
Use the sorting option or filtering to narrow down the possible choices.
-
-
Select the Manage link to edit the entity. Note that you must have permission to manage the entity.

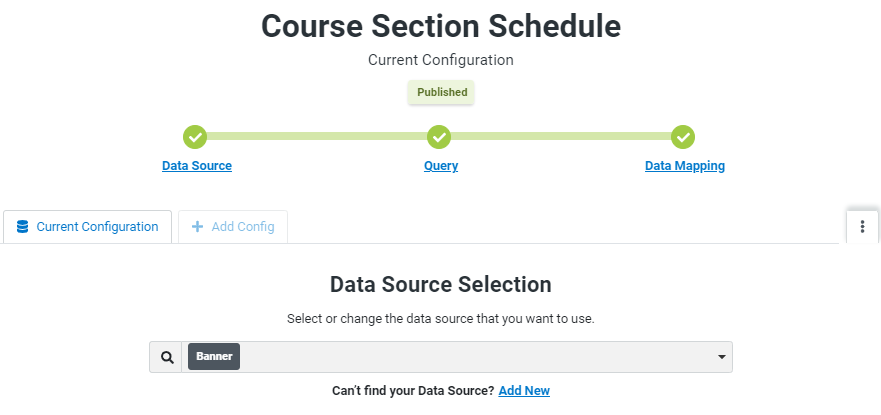
Select the Data Source
If you know the name of the data source you can begin typing the name in the field to see a list of available matching data sources. Select the one you want to use and then select Continue.
If the data source has not yet been configured, select the Add New link. If you have the proper permissions, you will be able to configure a new data source. See Working with Data Sources for more information.
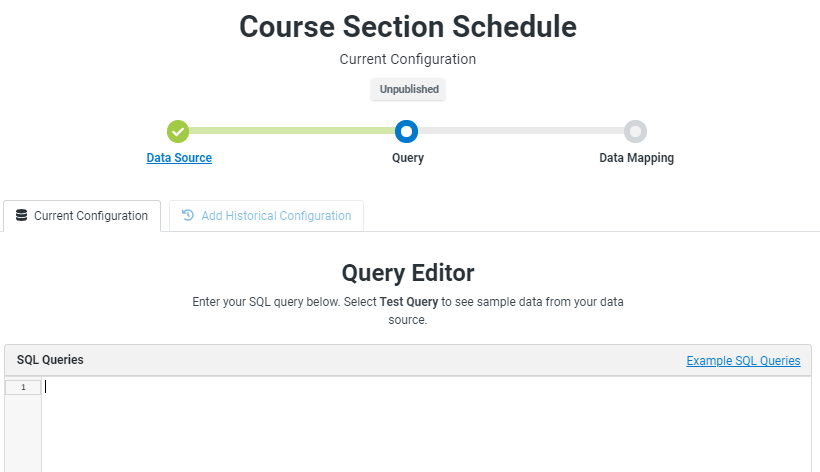
Enter and Test the Query
Next, you enter and test your query to obtain a sample of the data from the data source.
-
Type your query into the query editor page, or copy and paste a query from another source. In many cases, an Evisions representative will provide queries for you.
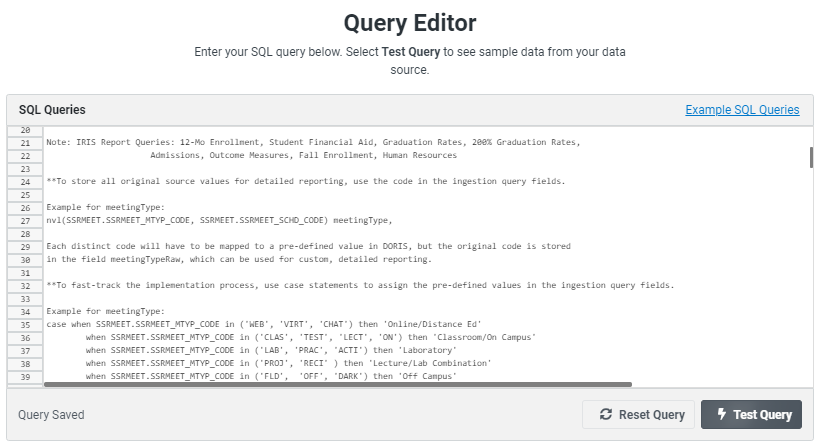
- When you have entered the query, select the Test Query button. If successful, the query extracts some representative data from the data source.
- The values returned for each data source field in the query are listed below the query editor.
- The header for each list includes the name of the data source field.

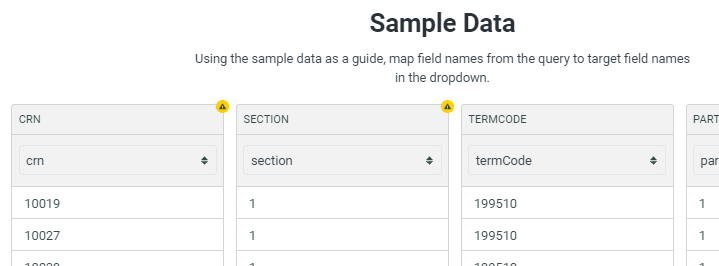
Create Associations Between the Query Field Names (Source) and Target Column Names
In this step you associate the query field names (shown at the top of each column) with the target field names for the entity.
The query field names come from the names used within the query.
The target field names are names used by the Evisions Data Model.
Open the drop-down for a column to display the available target field names. Select the one that corresponds to the field name from the query. In the example below, the ROOM query field value is going to be mapped to the room target field for the entity.
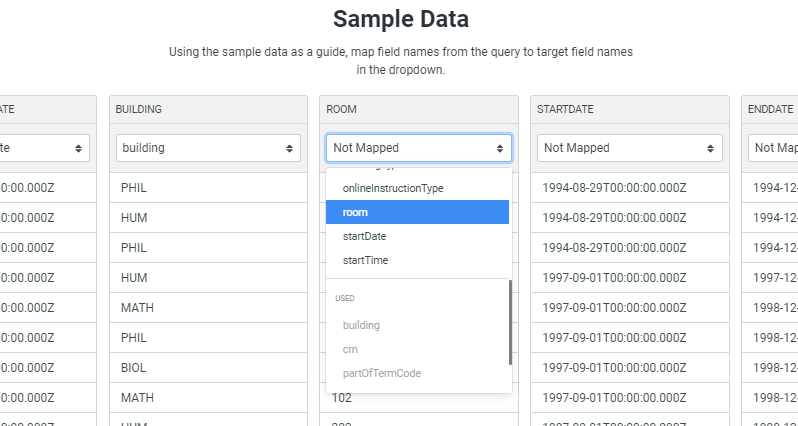
Do this for each of the columns unless you are sure that you will not need the data in the data source column for your published entity. Use the scroll bar below the columns to display additional columns to the right.
- Once you use a field name from the list, it is no longer available for other data source fields. Field names already in use appear towards the end of the list.
- Deprecated fields, if any, appear at the end of the list and cannot be selected. They are identified with a badge in the list of field names.
- If you need to remove a selected field name from a column, select Not Mapped. You can then select a different field name.
- If you don't map one or more of the target fields that has a set of specific values associated with it, you will be reminded in the next step.
The following keyboard shortcuts can be used:
Tab to a selection field and begin typing the name for the column. A list of matching names displays.
Arrow to the option you want to use then use Enter to select the name.
Tab to the next column.
Deprecated fields, if any, appear at the end of the list and cannot be selected. They are identified with a badge in the list of field names.
Select Next Step when you are done.
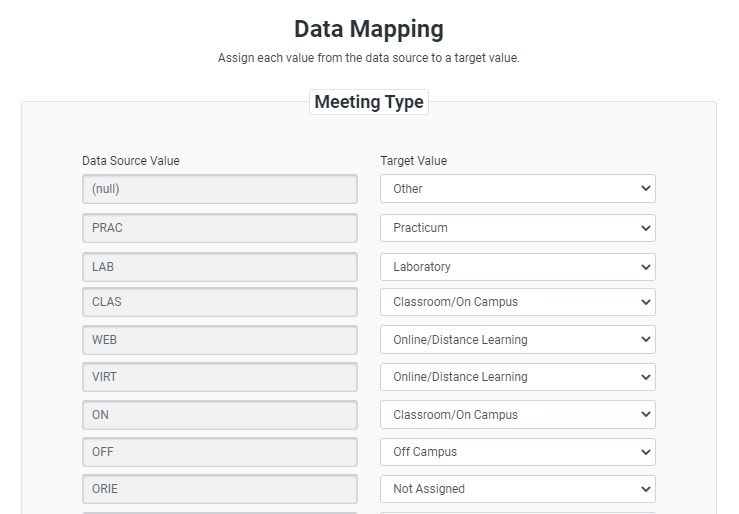
Map the Data Source Values to the Assigned Target Values
In some cases, the values extracted by the query for a data source field do not match the values allowed in the Evisions Data Model for the entity. When this happens, you must manually assign each data source value to a target value.
Review the values in the left column. Then, for each source value, select the value in the right column to assign it to. Note that in some cases, you may have more than one source value to assign to a target value.
Be sure to expand the list to make sure you assign all of the source values.
When you are finished making assignments, select Save Changes. The entity configuration page displays again, this time with the Publish button enabled in the footer.

Publish the Entity and Make the Data Available
When your data mapping is complete, select Publish from the footer and confirm that you are ready to publish. You will see a confirmation message when the entity is published. You can also verify that the entity was published by selecting the Activities link.
Once published, the data for the entity will be ingested at the next ingestion schedule. During ingestion, the entity status is "in Process." When ingestion completes, DORIS creates a snapshot, and the data is ready to be accessed by another system such as IRIS.
See also:
- Working with Data Sources
- Mapping Source Values to Target Values
- Publishing an Entity
- Ingesting the Data
- Publishing to IRIS